How to create an approval flow within SharePoint or Teams
Welcome to our informative blog post where we introduce you to the powerful world of approval flows within SharePoint and Teams! If you're looking for a streamlined and efficient way to manage approvals for documents, processes or ideas, you've come to the right place.
Whether you're a project manager, team leader or entrepreneur, approval workflows can be a gamechanger in simplifying your work processes and streamlining communication. With SharePoint and Teams , you have access to a suite of advanced tools that allow you to create custom approval workflows tailored exactly to your needs.
In this blog post, we will take you on an exciting journey of discovery into setting up approval flows within SharePoint and Teams. We will guide you step by step in creating your own flows, regardless of whether you have a technical background or not.
Learn how to set up automatic notifications for approval requests, track the progress of approvals, and easily gather feedback from stakeholders. These approval flows provide a seamless and structured way to efficiently make decisions and validate key steps in your work process.
Are you ready to optimize your work processes and take your approvals to the next level with SharePoint and Teams? Stay with us and discover how you can use these powerful tools to propel your business or team to new heights.
Get inspired by the possibilities of approval flows and learn how you can use SharePoint and Teams to manage your approval processes in a smarter, faster and more effective way!
Create a stream via PowerAutomate
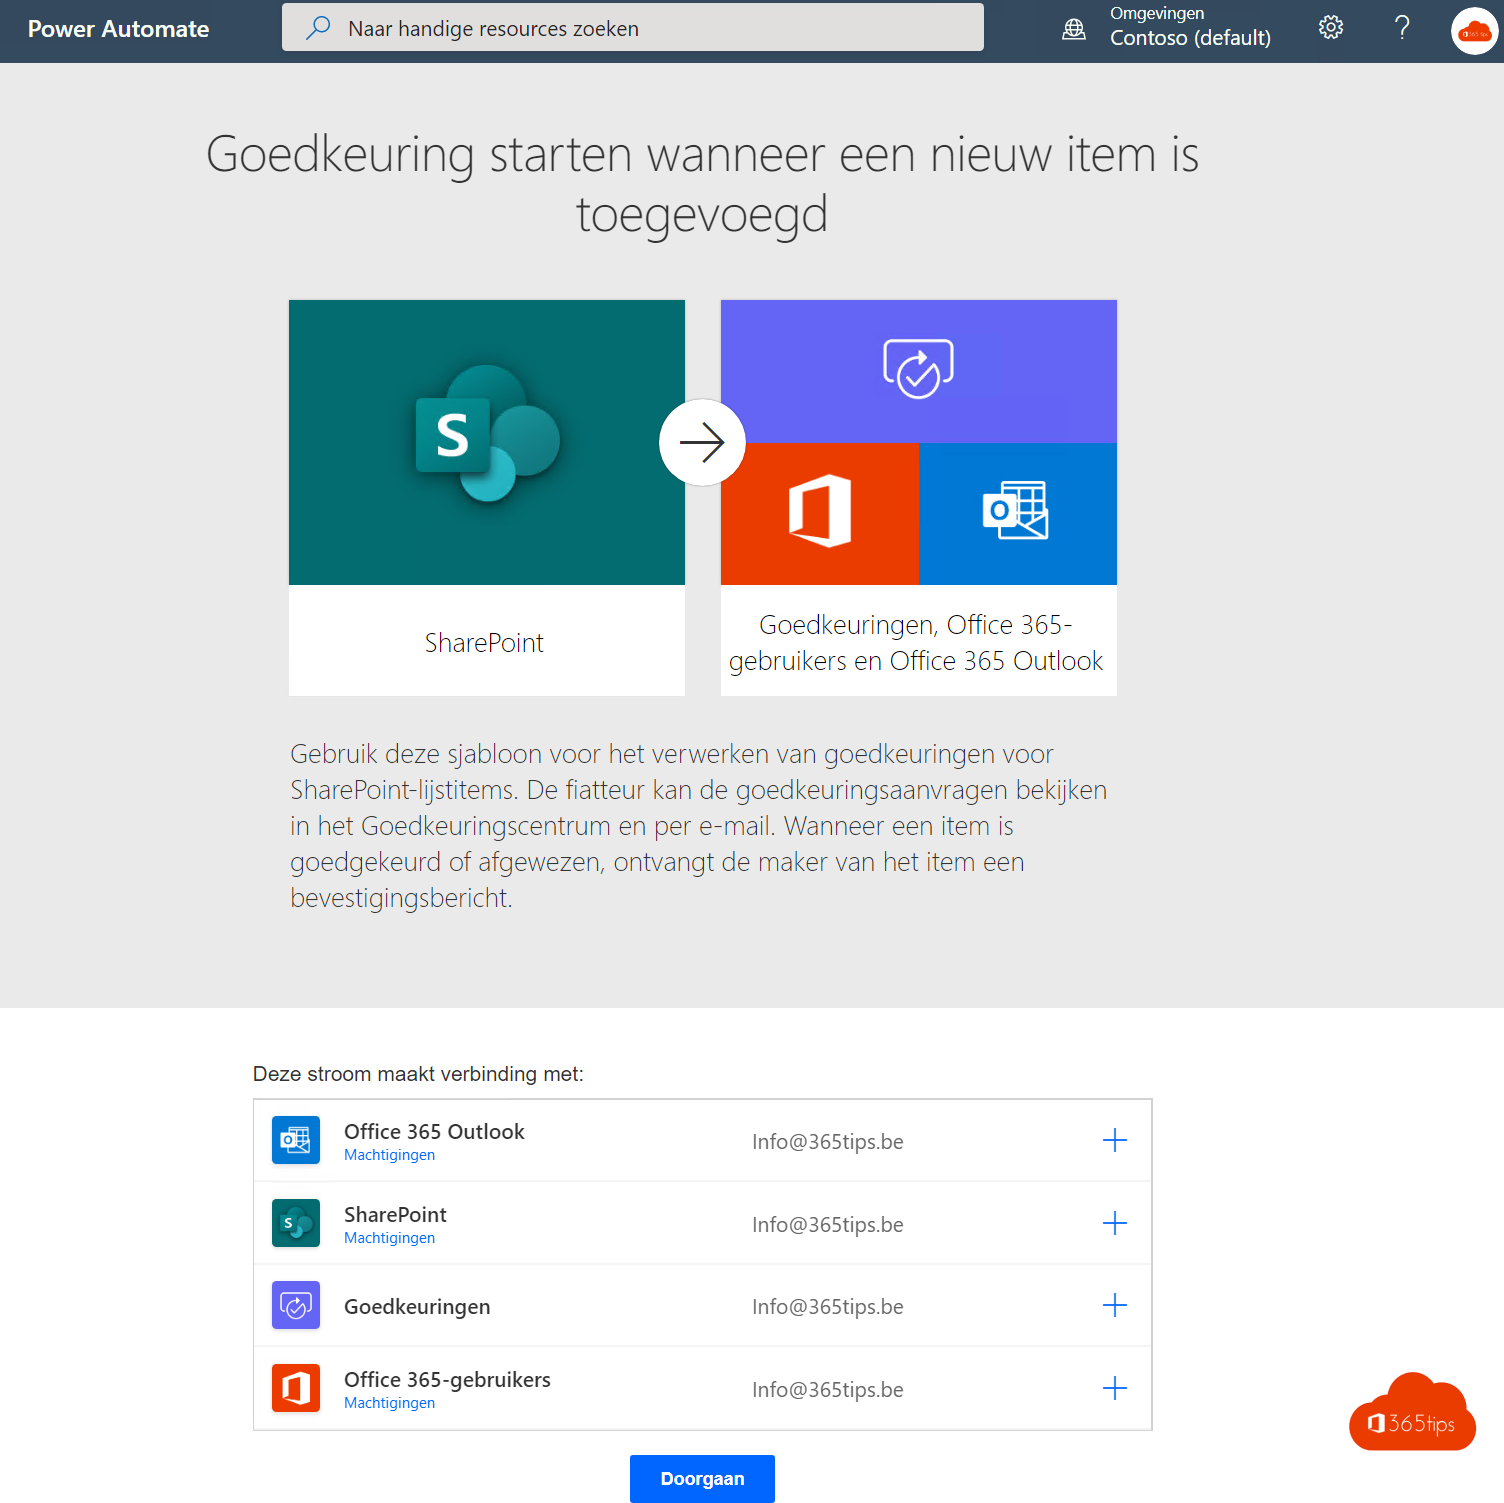
Browse To: https: //flow.microsoft.com - search for "Start approval when a new item is added"

Select Continue
Make sure you have the necessary permissions to SharePoint and a Exchange Online mailbox.

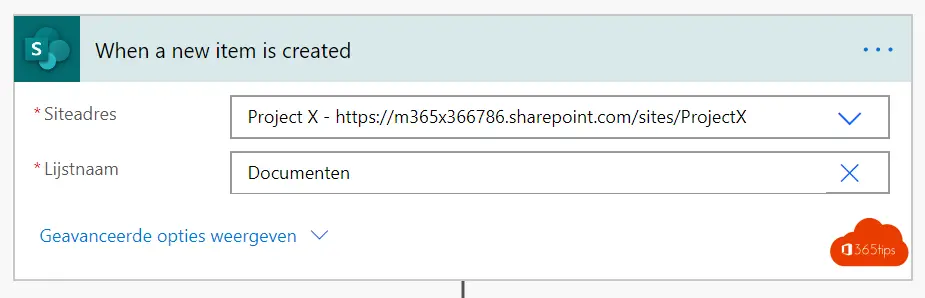
Select your Microsoft Teams or SharePoint site
You can create a separate library and folder them in your Microsoft Teams via tabs. In this case, we'll get started with the default Documents library.
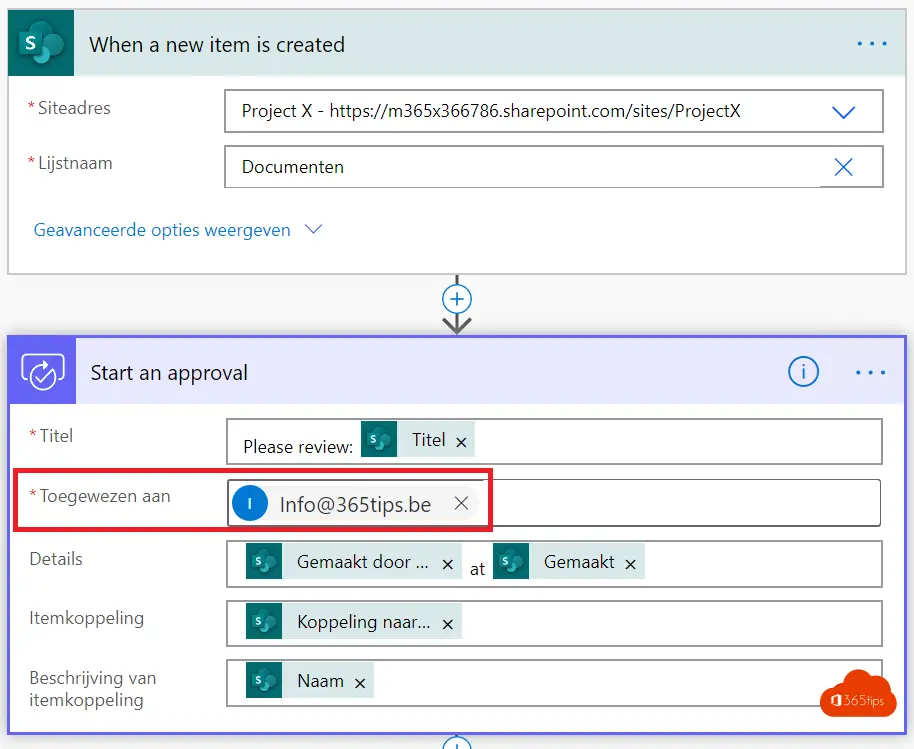
Select the person who may give the approval
Via assigned to, you can select a person to receive the approval. It is also possible to select multiple people.
Overview of your flow
Your flow is now ready. You are free to customize the template. The advantage is that you do not have to create the blocks yourself and can define processes faster.

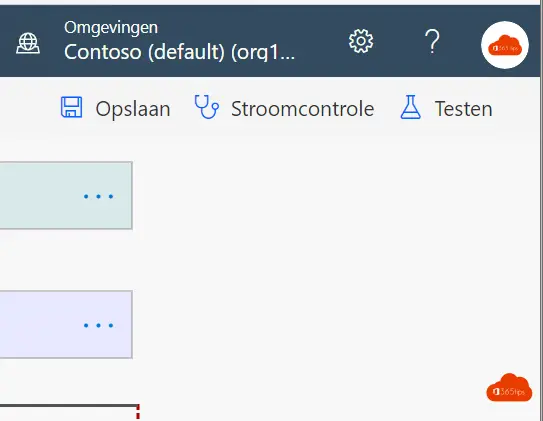
Flow testing
You will receive an email through this template to give your approval. This can also be received via Teams .

You can also test your flow by pressing Test and following along with the steps that the process you built goes through.

Agreed 🙂

