📸 Creating print screen, screenshot or screen capture in Windows 11: here's how to do it!

There are several ways to take a screenshot of your screen. In this blog, you will learn how to easily and quickly include screenshots in documents or notes.
You can do this without installing additional tools with the built-in capabilities of Windows 10 and 11. Several options are also available for Apple, which you can read in these instructions.
Screenshots can be saved in Windows, which can help you quickly retrieve images from memory via the clipboard.
Also read: How to take a screenshot or video on a Mac, iPad or iPhone?
In Windows 11: Always use this key combination: Windows key + shift + S
Use the following key combination to open the screenshot menu: hold down the Windows key, then press Shift and press S. Hold down all keys until the screenshot bar appears.
This is the most modern way to take a screenshot within Windows 10.
Press the Windows key + shift + S
The top bar will appear.
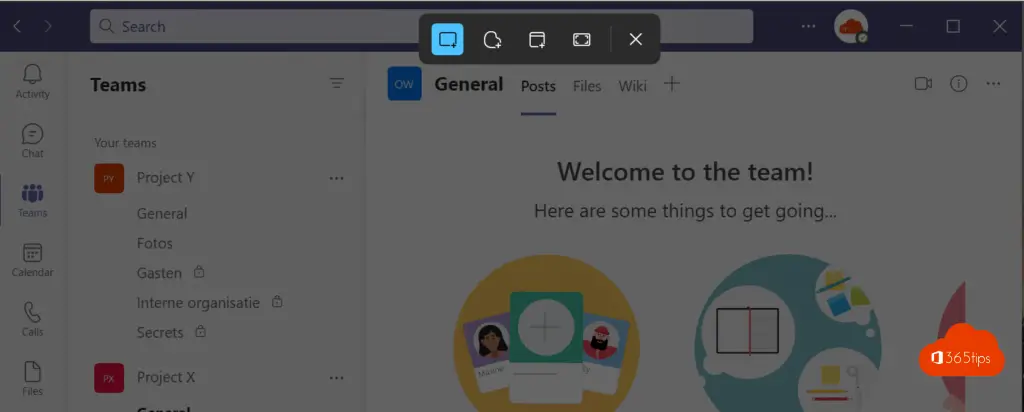
Select one of the options below:
Rectangular cutout in Windows 11 - Partial print screen
To select a rectangular shape press the first option in Windows 10 or in Windows 11.

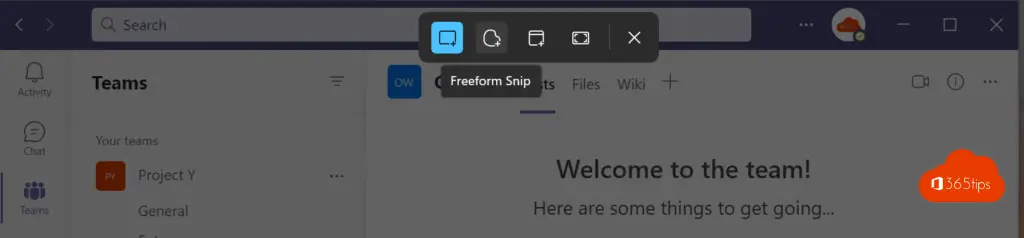
Select and copy free-form cutting in Windows
In this free form, you can select parts of the screen with the mouse cursor so you can insert a screen capture in one motion into Word, PowerPoint or other applications.
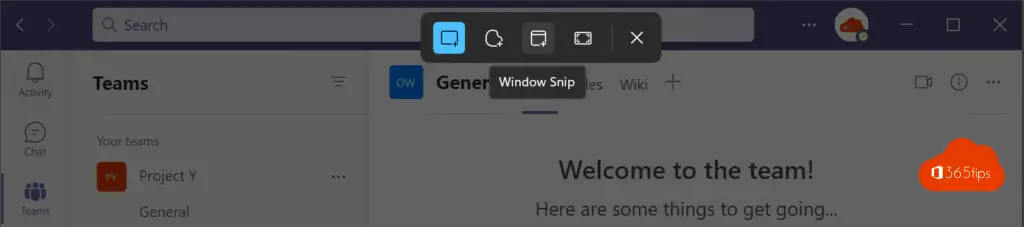
Window clipping in Windows
A window clipping automatically takes a screenshot of one window. This option is useful for providing documentation.
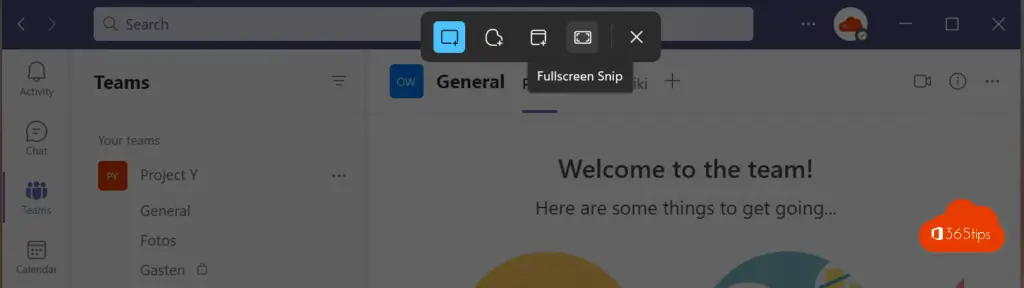
Full-screen clipping in Windows
The fullscreen Snip allows you to display the taskbar, Windows start and all open applications in one motion.
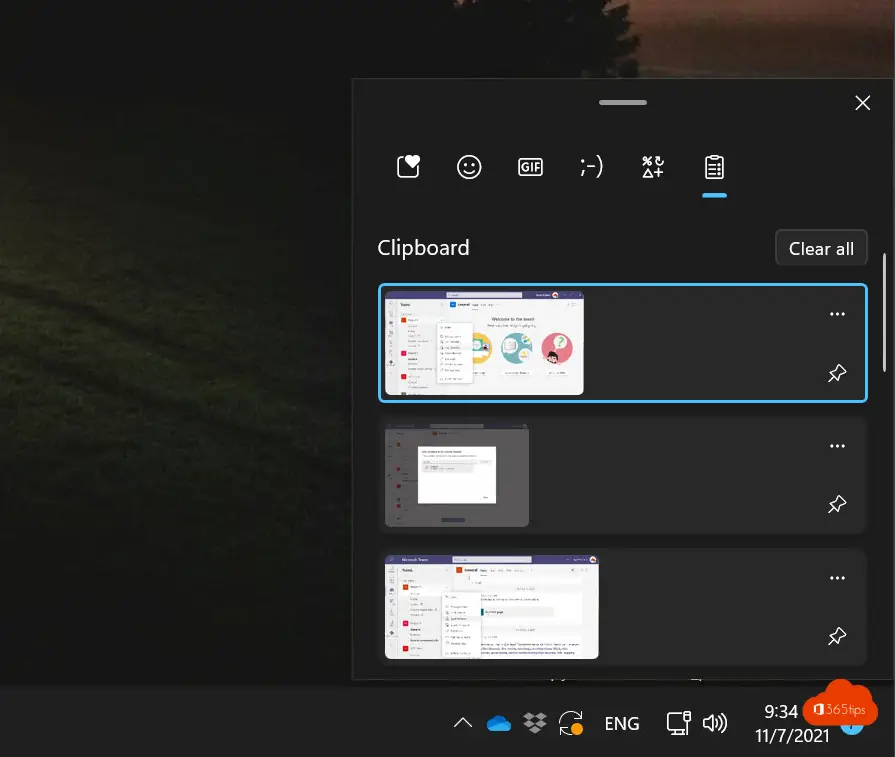
After you take this screen capture appears: Clipping saved on the clipboard. All screen captures are saved.
Press Windows key + V to open the clipboard
Then you can select an image with the left mouse button. Then you can paste it wherever you wish.
To make a print screen in a simple way do with the PRTSC key
Press the PRINTSC key on your keyboard. This key is often in this location in the image below.
After you create this print screen, you can paste this screen capture via CTRL-V into Microsoft Word, Powerpoint or MS Paint.
Taking a screen shot in PowerPoint
In addition to screenshots, it is also possible to make a recording with built-in Office 365 software. You do need PowerPoint from Office 365. You can read about that in these separate blog posts. Screenshots within Office 365 via Microsoft PowerPoint
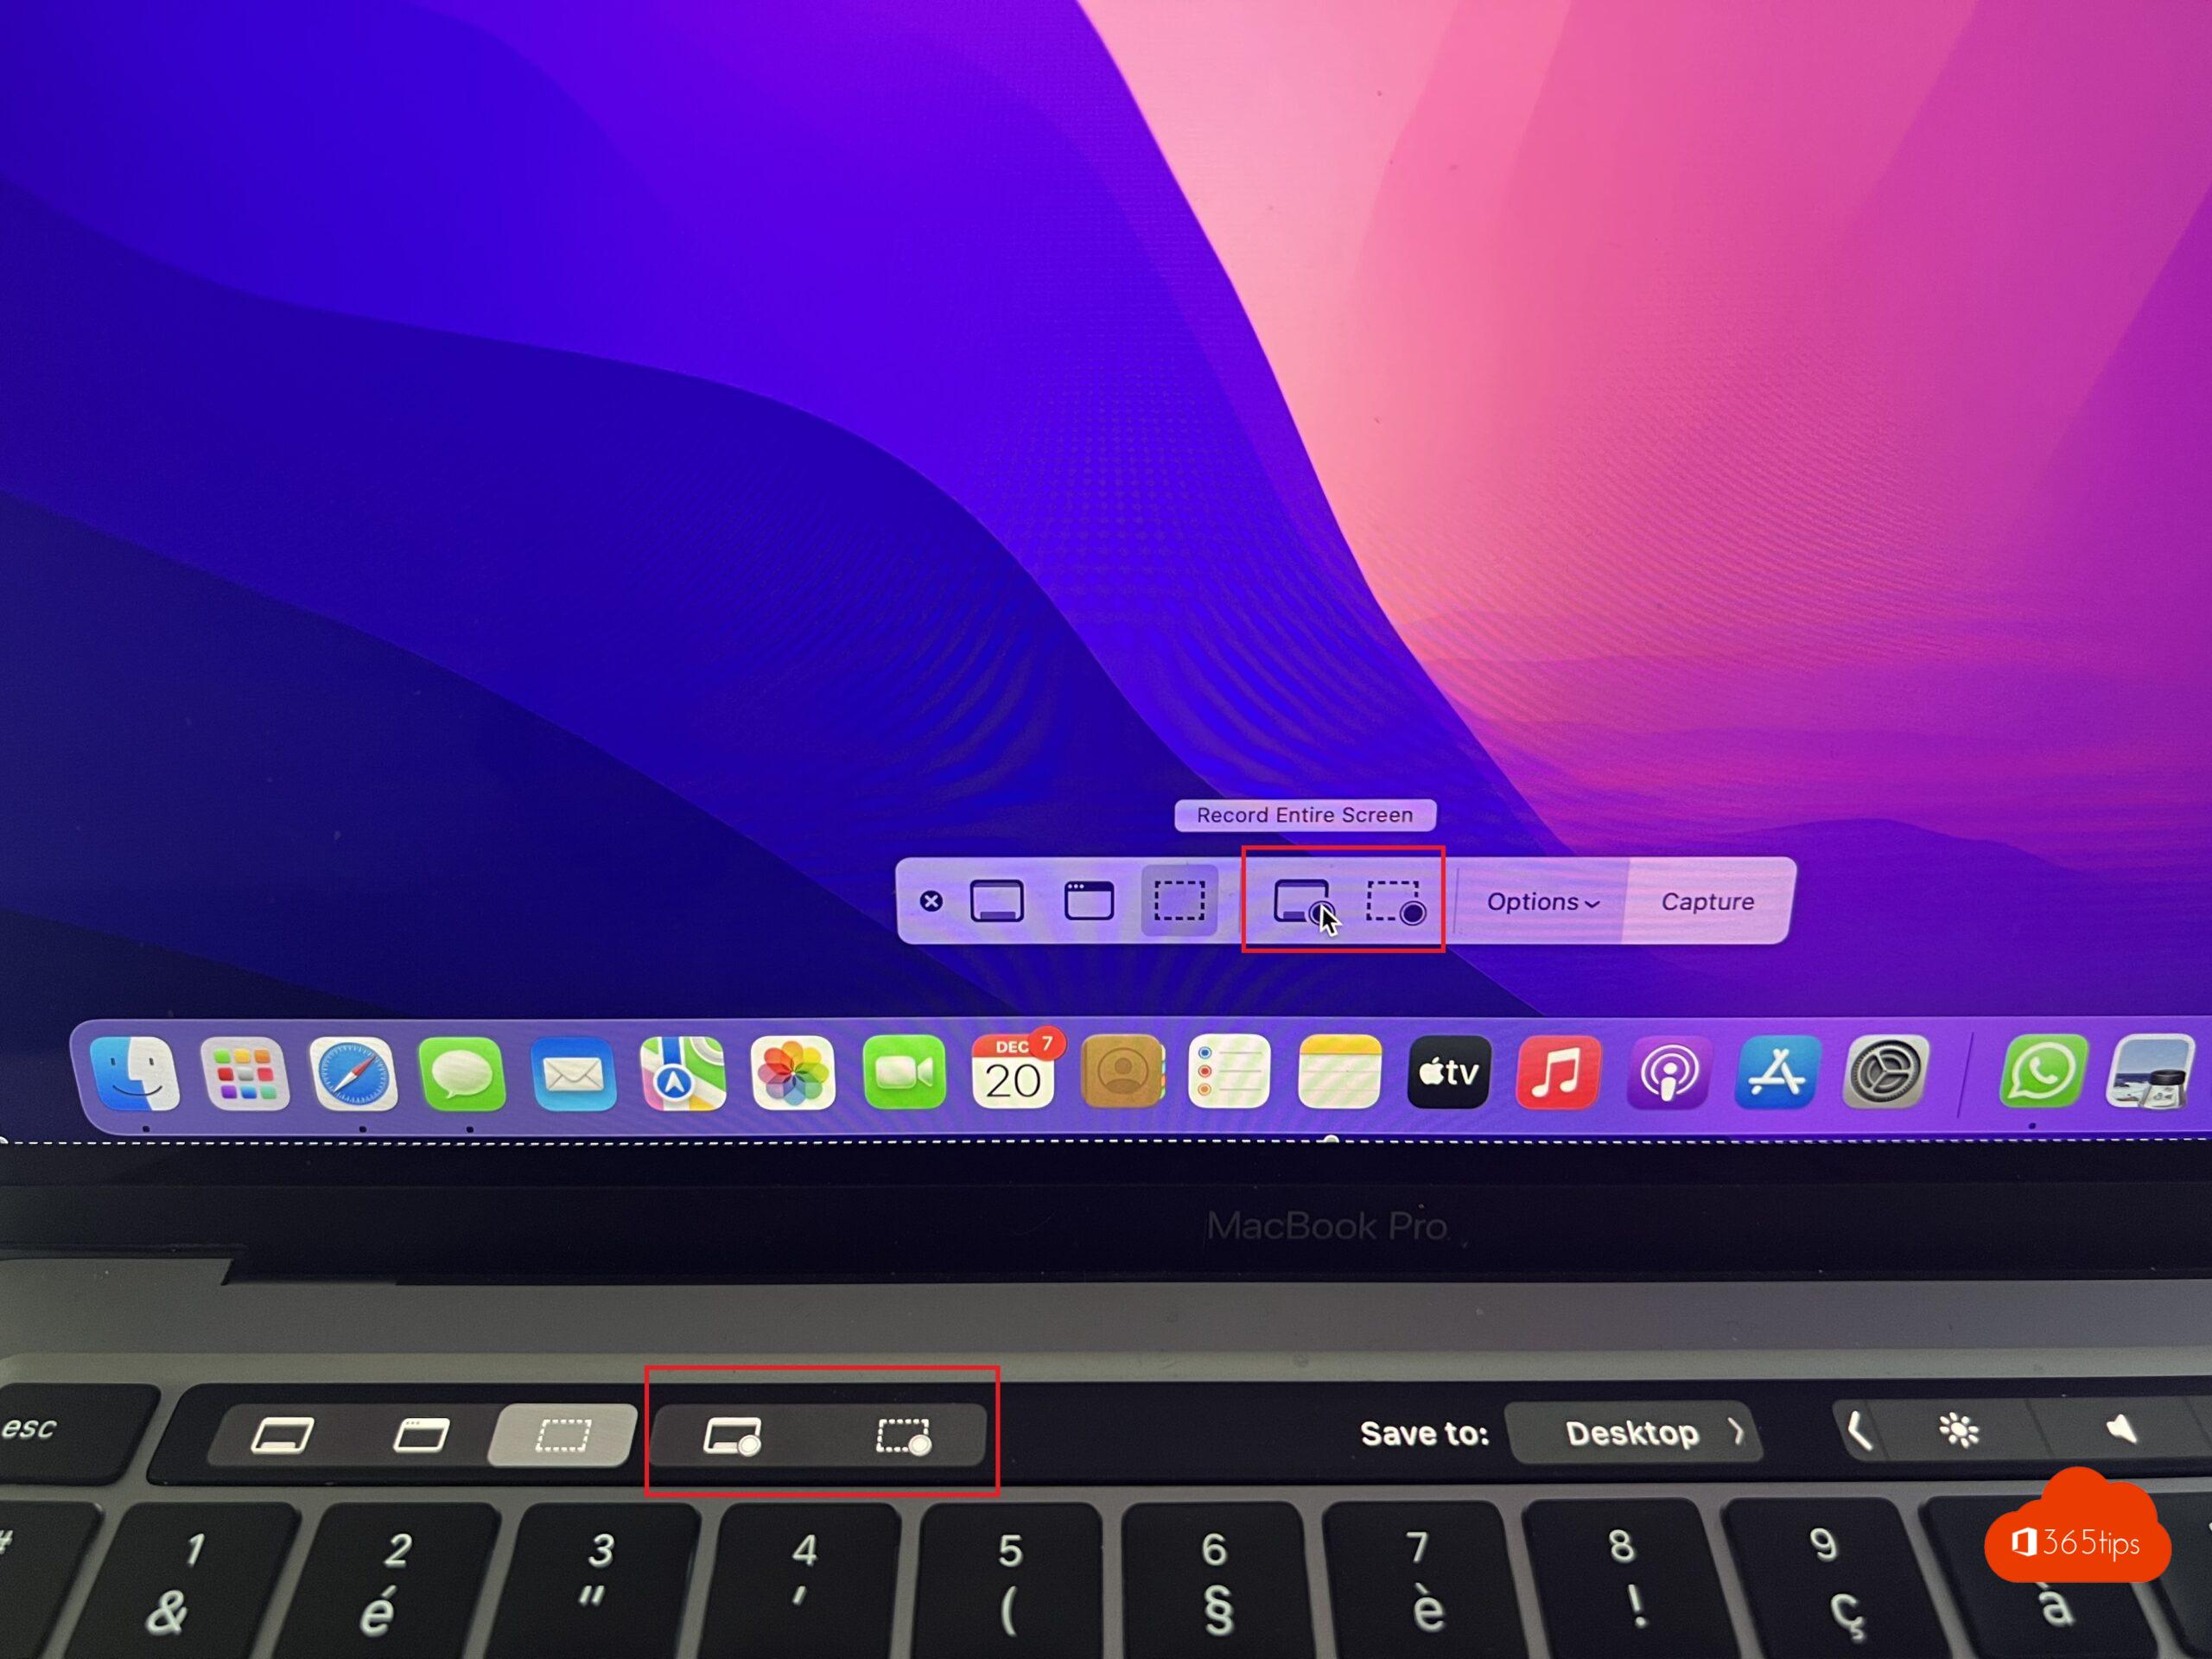
How to take a screenshot on a MacOS or on an iPhone?
How to take a screenshot or video on a Mac, iPad or iPhone?
Other blog posts
Shortcut keys in OneNote for Windows 10
Shortcuts in Microsoft Teams
Tutorial: How to install and use Slack in Windows | Tips & Tricks
How to use emoji's GIFs or stickers in Microsoft Teams ?
Setting up an email signature for Outlook Online - Microsoft 365

I want to take a screen capture of a page in English and translate it into Dutch.But it doesn't work