Comprehensive guide to creating an Apple ID with iCloud

Here is a detailed guide to creating an Apple ID. This is a common question I receive, as many of my readers are using Windows 11 in conjunction with an iPhone or iPad these days.
Introduction
In the world of digital security and convenience, the Apple ID has become an indispensable element, especially for users closely connected to Apple's ecosystem. In this blog, we dive into why an Apple ID is essential for using Apple Passkey and Apple Passwords in Windows 11.
Apple Passkey and Apple Passwords represent the latest developments in digital security aimed at providing a seamless, but most importantly, secure user experience. An Apple ID is central to this process, acting as the key to an integrated and secure digital experience across devices and platforms. Using these advanced features on Windows requires an Apple ID, as it not only ensures streamlined synchronization between devices, but also provides an additional layer of security. In this blog, we explore how an Apple ID supports these advanced security features and why it is crucial for users who want to leverage Apple's technologies on Windows.
What is an Apple ID?
What is an Apple ID? Why do you need it? This introduction answers these questions and explains how an Apple ID is essential for using Apple devices and services. An Apple ID is your personal account for all things Apple. An Apple ID lets you sync your devices, make purchases from the App Store, and much more.
How to create an Apple ID on an iPhone/iPad
Method 1: Through Settings
- Open the Settings app.
- Tap "Login to your iPhone.
- Choose "Don't have an Apple ID.
- Follow the steps to enter your information.
Method 2: Through App Store
- Open the App Store.
- Click on "Login.
- Choose "Create New Apple ID.
- Follow the instructions to create your ID.
Creating Apple ID on a Mac
- Click the Apple icon and then click System Settings.
- Choose "Log in with your Apple ID.
- Follow the steps to create a new ID.
Creating Apple ID on PC or Android
Method 1: Through Apple ID Website
- Visit the official Apple ID website.
- Click "Create your Apple ID.
- Follow the steps to create an account.
Method 2: Via iCloud Website
It is also possible to create an iCloud Apple ID without an iPhone. You do this using iCloud.com
- Go to the iCloud website. https://icloud.com and press "log in.
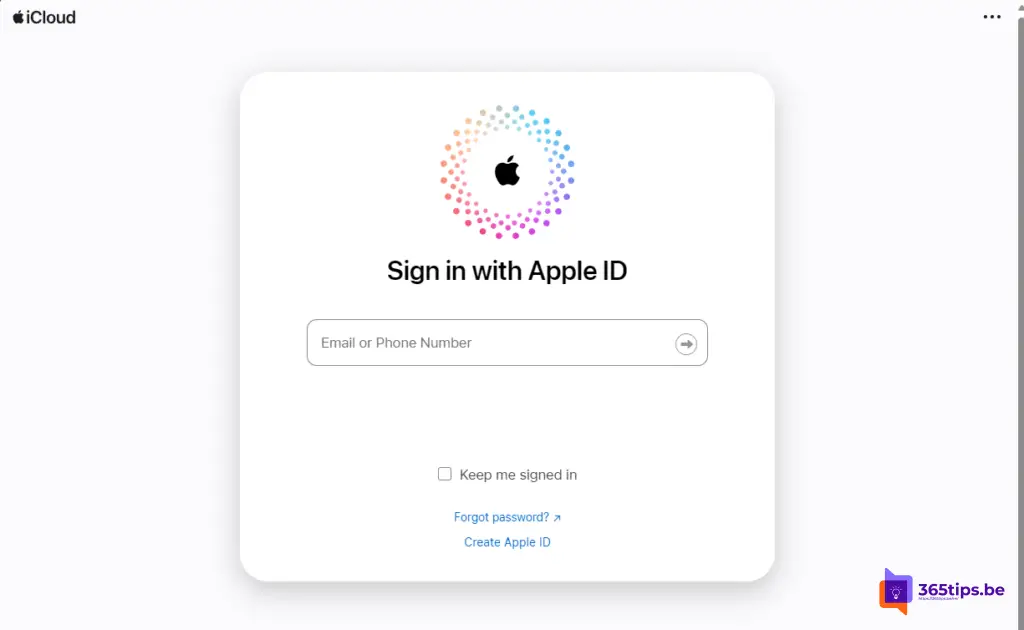
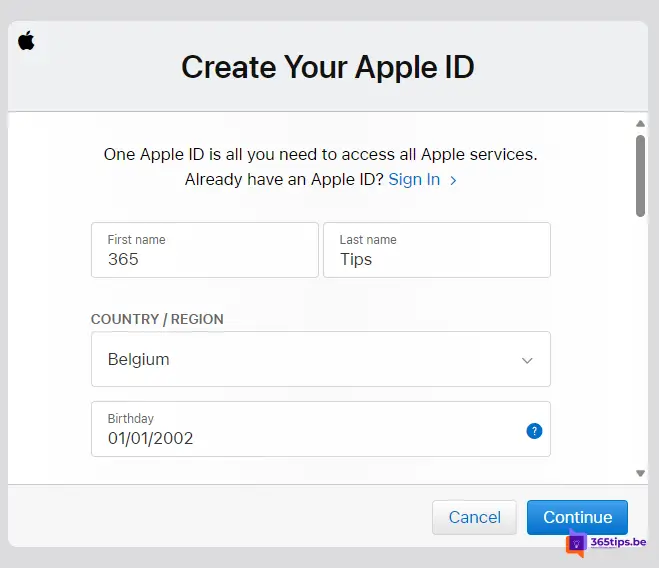
- Choose "Create Apple ID.
- Enter the required information to create your ID.
Once you have completed these steps, you are done creating your Apple ID.
How to get started with Apple Passwords in Windows 10 or Windows 11
Synchronizing iCloud passwords on a Windows 11 computer requires a number of steps, which are explained below. Read more
- Preparation:
- Installing iCloud for Windows:
- Set up iCloud and log in:
- Using iCloud passwords:
- Password management:
How can you use Apple iCloud Passkey in Windows 11?
To use Apple iCloud Passkey in Windows 11, follow these steps. Read more
- Install iCloud for Windows: Make sure you have the latest version of iCloud for Windows installed. You can download and install iCloud from the Microsoft Store on your Windows 11 computer.
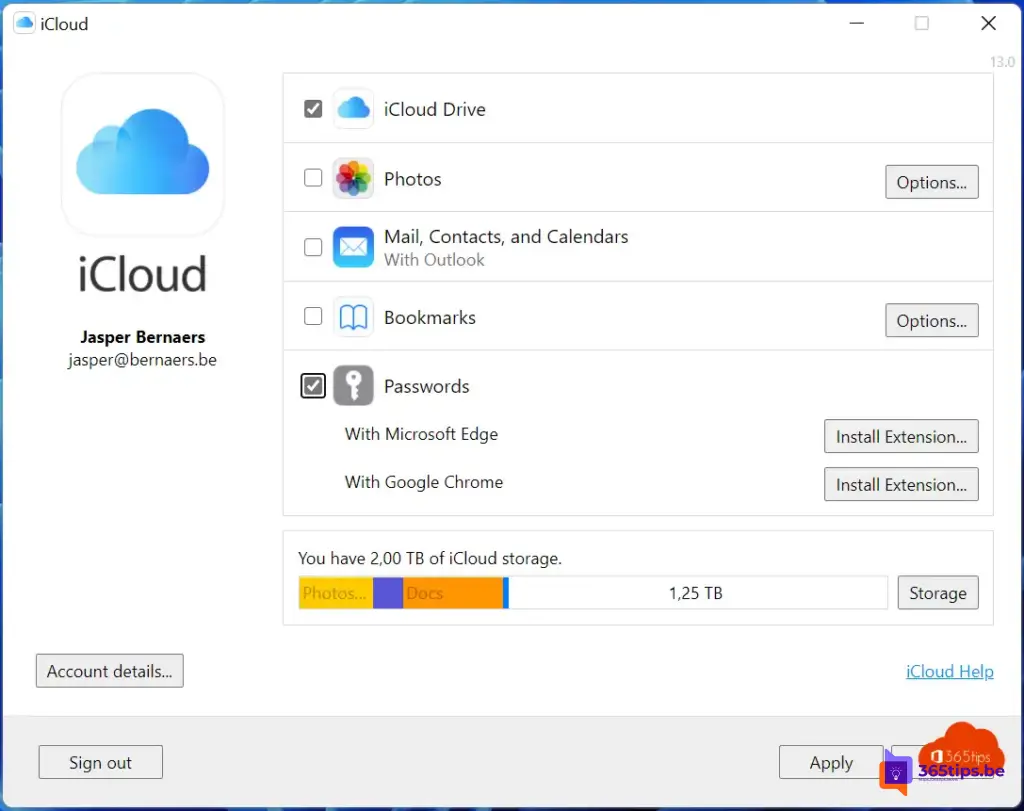
- Sign in with your Apple ID: Open iCloud for Windows and sign in with your Apple ID. Make sure your Apple ID is set up with two-factor authentication, which is a requirement for using iCloud Passkey.
- Activate iCloud Passkey: In the iCloud settings on your Windows computer, you should see the option to activate iCloud Passkey. Enable this option.
- Sync Passkeys: iCloud will automatically sync your Passkeys between your Apple devices and your Windows computer, as long as they are signed in with the same Apple ID.
- Use a browser extension: To use your Passkeys in browsers such as Google Chrome or Microsoft Edge on Windows, you may need to install a specific browser extension compatible with iCloud Passkey. This extension helps integrate Passkey functionality with your browser.
- Access websites and services: Once everything is set up, you can use Passkey to log into supported websites and services with your Windows 11 computer, similar to how you would on Apple devices.
How do you experience Windows 11 with Apple new iCloud features?
Comment at the bottom of this article and help others as well.
