How to add a Office 365 shared mailbox in Outlook for iOS
In a world where digital communication is an essential part of both our professional and personal lives, email management is becoming increasingly important. Whether you are an entrepreneur, a manager, or an employee, chances are your daily routine involves navigating through a sea of emails.
One of the best ways to streamline this process is to use a shared mailbox in . Office 365. This feature allows teams to collaborate seamlessly and maintain a unified line of communication to customers, partners, and stakeholders.
While setting up a shared mailbox on your desktop is pretty straightforward, adding it to the Outlook app on your iOS device can be somewhat challenging if you're not familiar with the process. But fear not - that's exactly what this guide is for!
In this blog post, we will go step-by-step through the process of adding a Office 365 shared mailbox to the Outlook app for iOS. We will outline the necessary steps, each provided with clear instructions and images to make it as easy as possible. So whether you're a technical wizzkid or a novice user, read on to discover how to set up this valuable feature on your iOS device!
1. Configure your Outlook Application on your smartphone.
Install the Outlook App via this blog post.
2. Open your Outlook app on your smartphone
Open your outlook app on your iPhone or iPad.
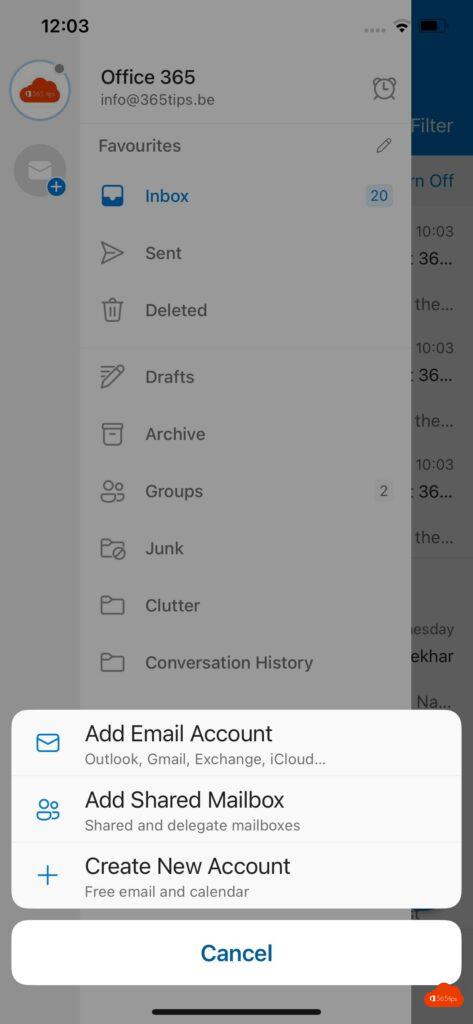
- Click on the cogwheel / settings at the bottom left .
- Press add e-mail account.
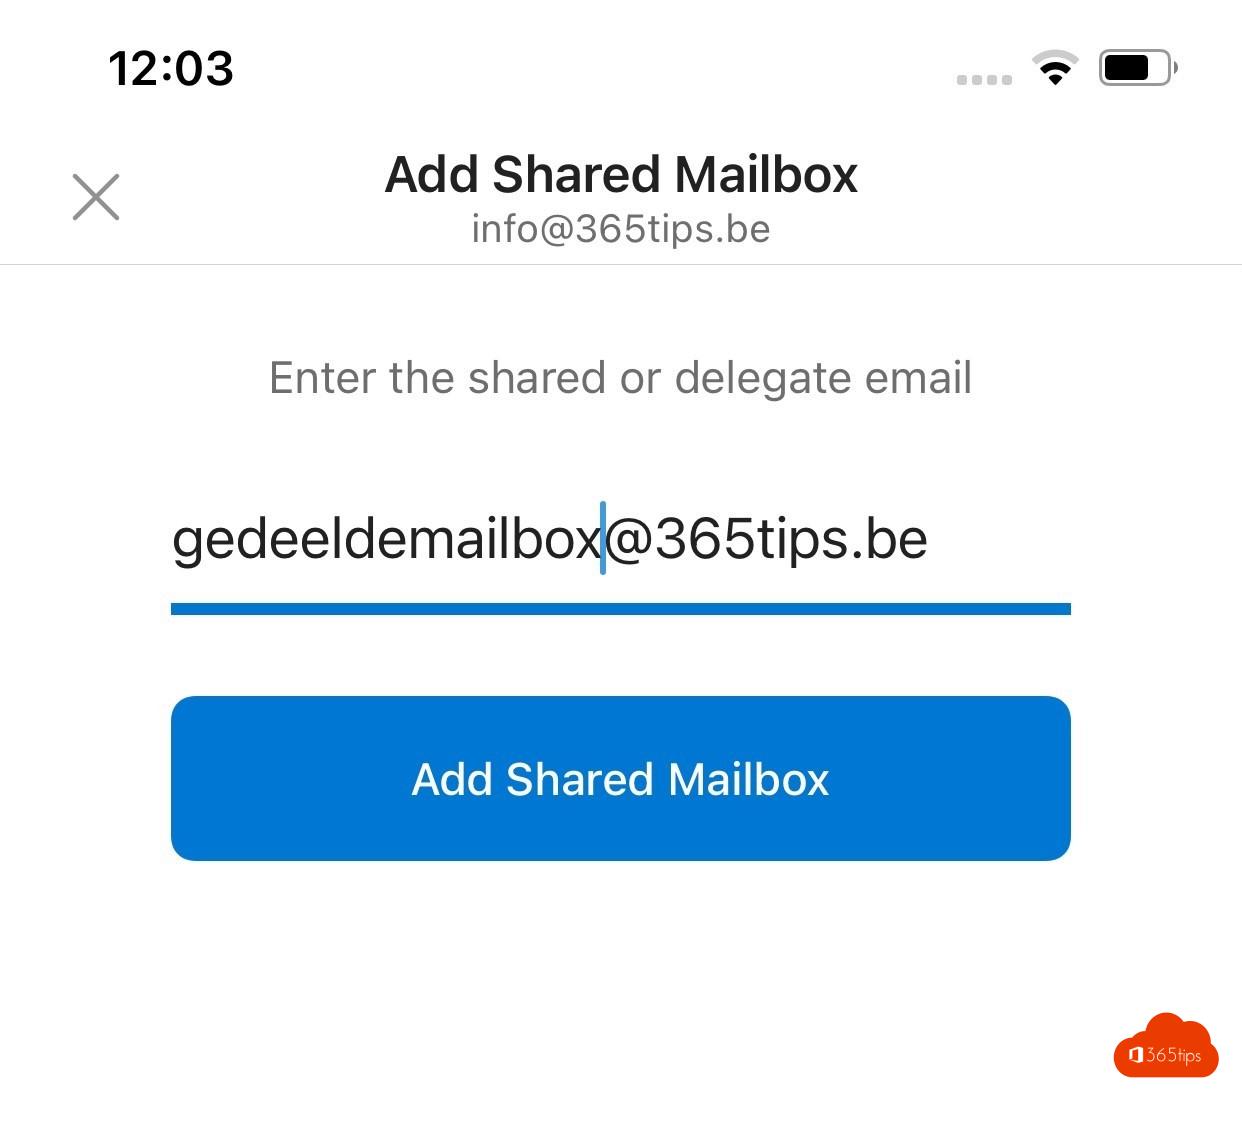
- Click on ' add shared mailbox'
- Enter thee-mail address of your shared mailbox

- You have successfully added the shared mailbox.
Also read
Microsoft adds shared Teams channels later this year (Teams Connect)
Handle mail from your shared mailbox in Microsoft Teams with PowerAutomate
Microsoft discontinues UserVoice and launches new Feedback Portal
Automatically save sent items to your personal + shared mailbox in Office 365 in Exchange Online
