How to install and activate Azure AD connect for Microsoft Office 365?

If you are using Azure Active Directory (AD) to manage access to your cloud-based applications, it is important to configure it properly. Proper configuration not only ensures better security, but it can also help streamline the management process. In this blog, you'll learn how to Azure AD Configure Connect in just 4 steps. Among other things, you'll learn how to set up synchronization of user accounts and passwords between on-premises and cloud environments, and how to enable automatic updates. With these handy tips and tricks, you can quickly get started configuring Azure AD Connect and make your business processes even more efficient. Read on to find out how to make the most of this powerful tool!
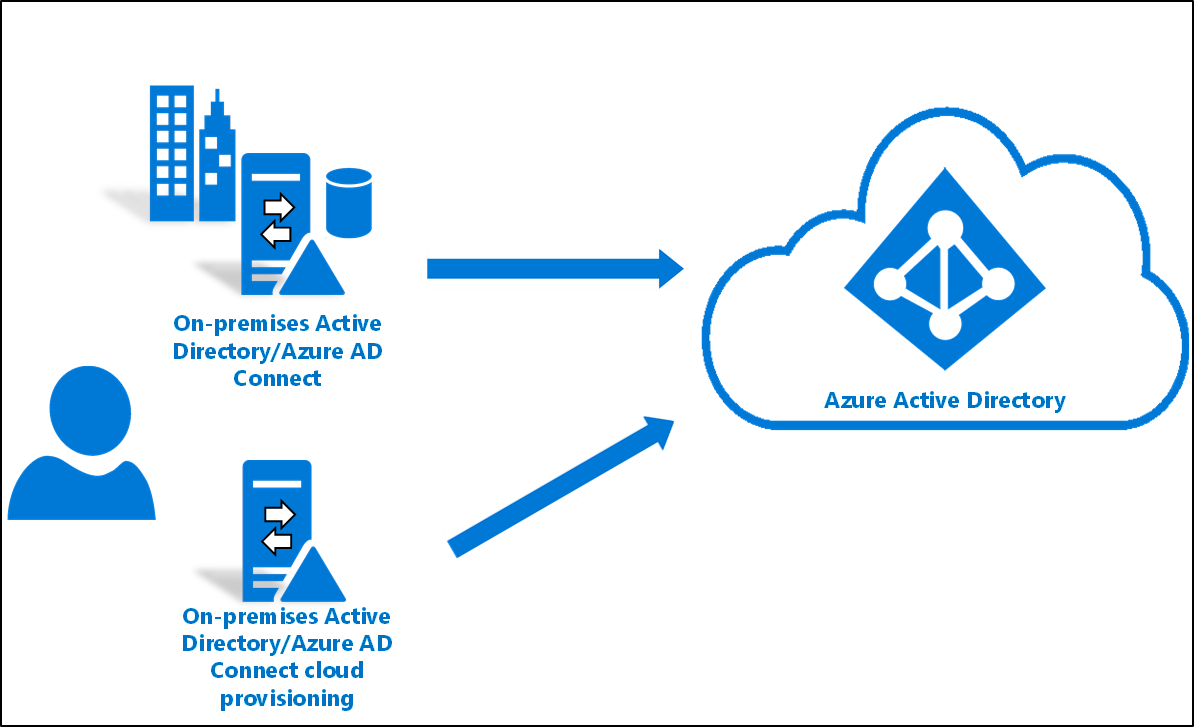
Azure Active Directory creates a connection between on-premises active directory and Azure Active Directory. Objects are synchronized from local AD to Azure Active Directory. Which is also Office 365 part of.
Prerequisites for Azure AD Connect
Azure AD Connect integrates all users between on-premises Active Directory and the Office 365 Directory. (Azure AD)
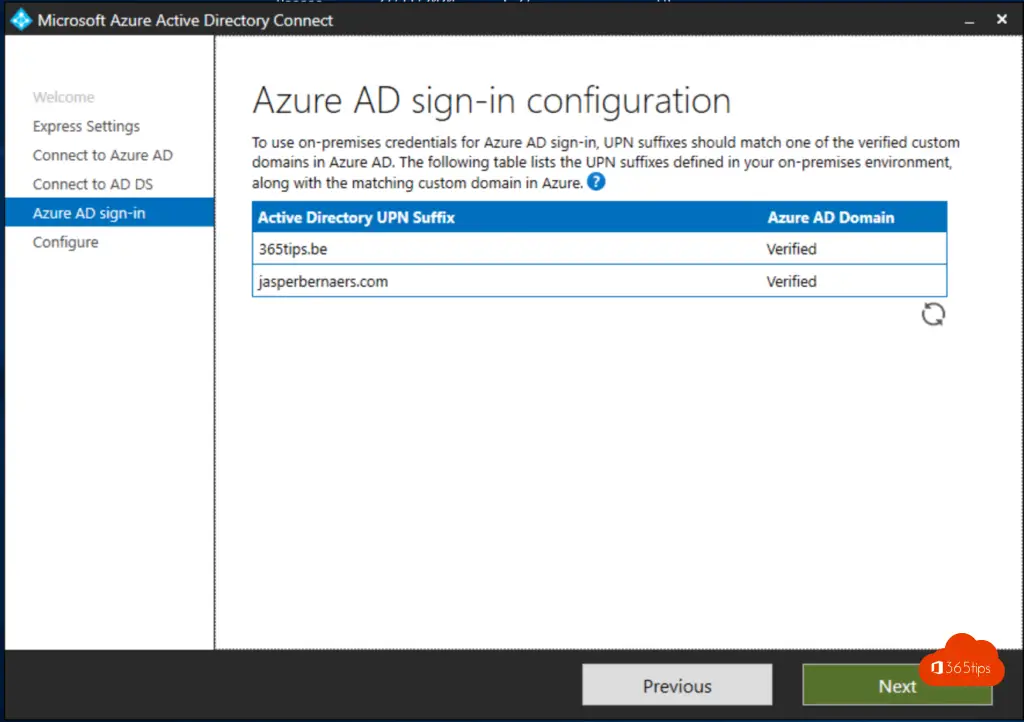
Update all UPNs to the target email domain.(Add domain tutorial)
Don't make it too confusing for your users and choose one identifier - A best practice is to match the UPN to the e-mail address. Often Microsoft services such as Skype or OneNote ask you to log in with your e-mail address.
Video instructions to install and activate Azure AD connect for Microsoft Office 365?
1. Download Azure AD Connect
- Download Azure AD Connect via this link.
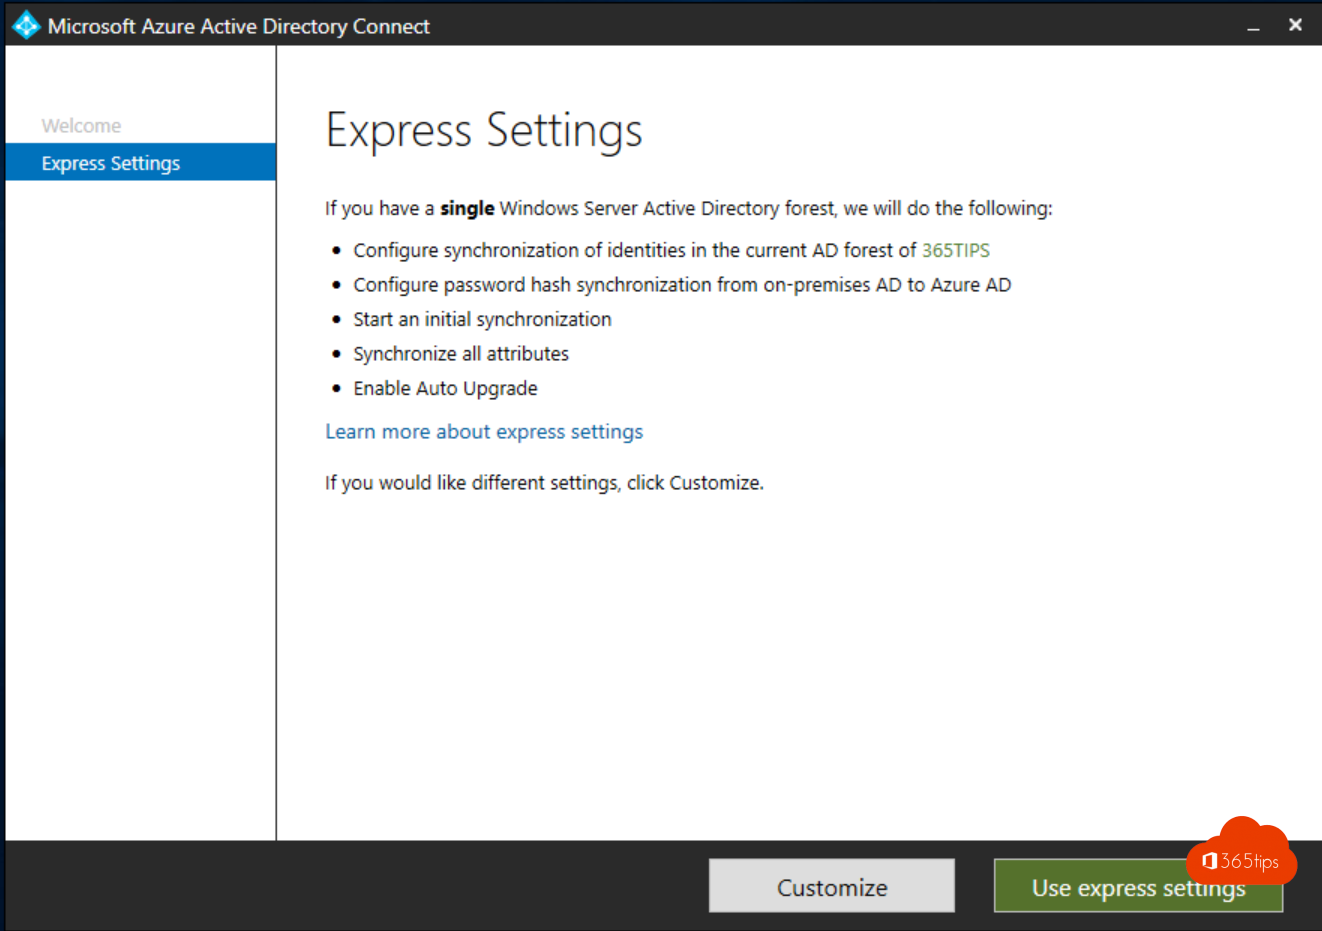
2. install Azure AD Connect
- Install Azure AD Connect on a server in your domain.
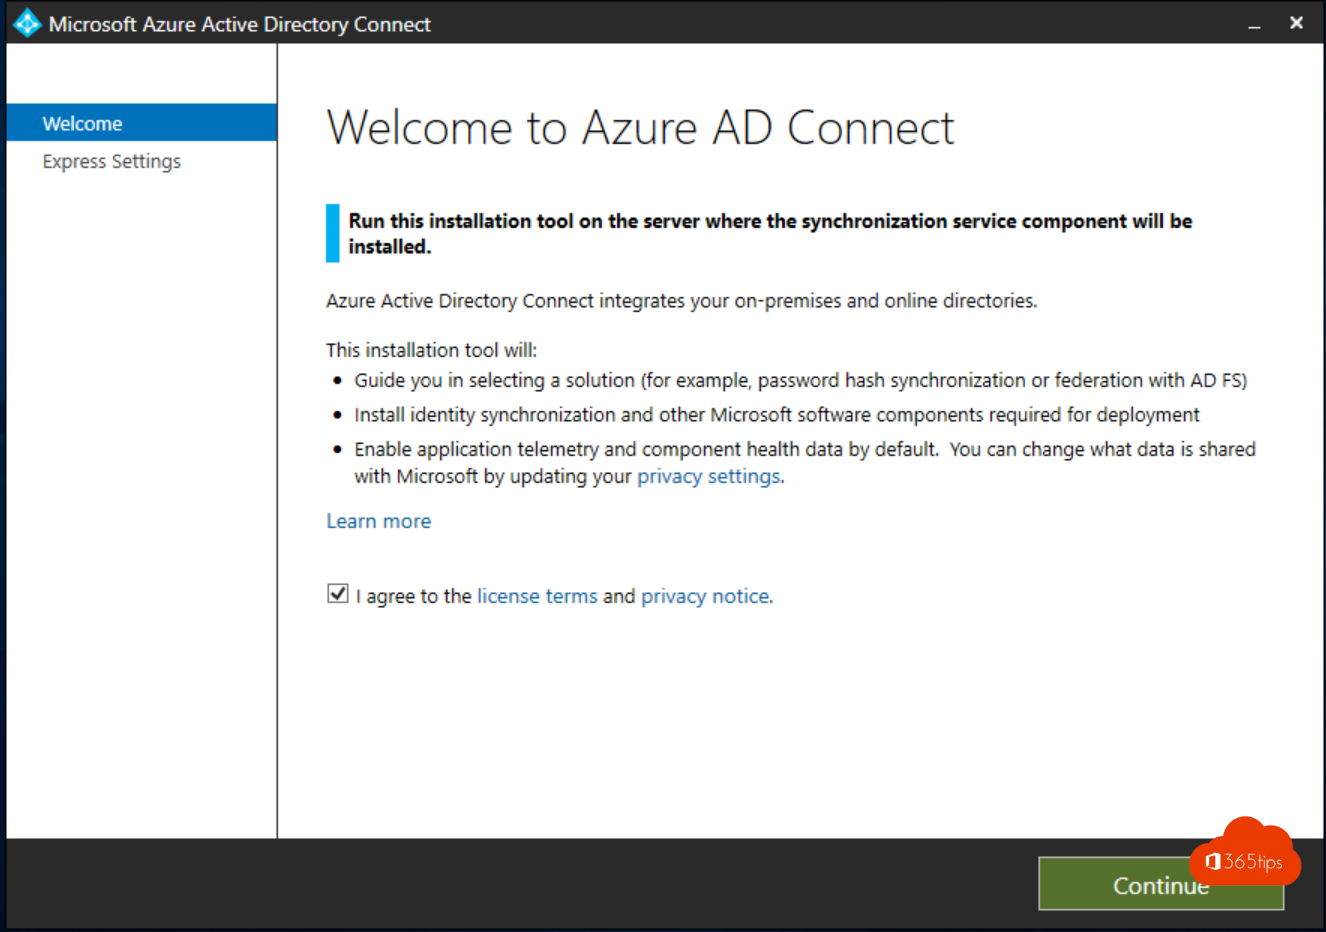
- Open the installation file. The screen below is the first thing you'll see.
- Click Continue
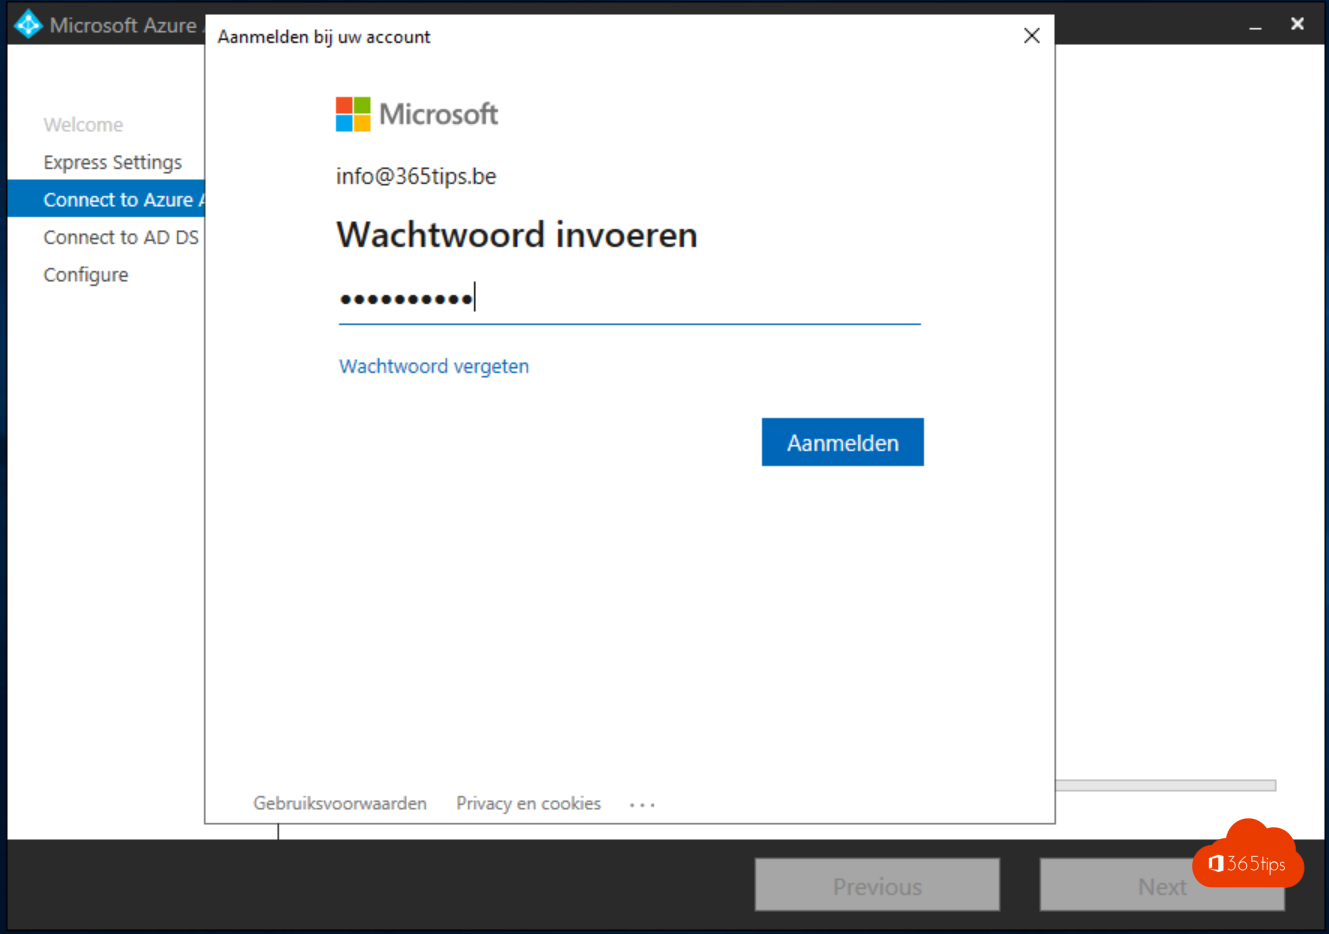
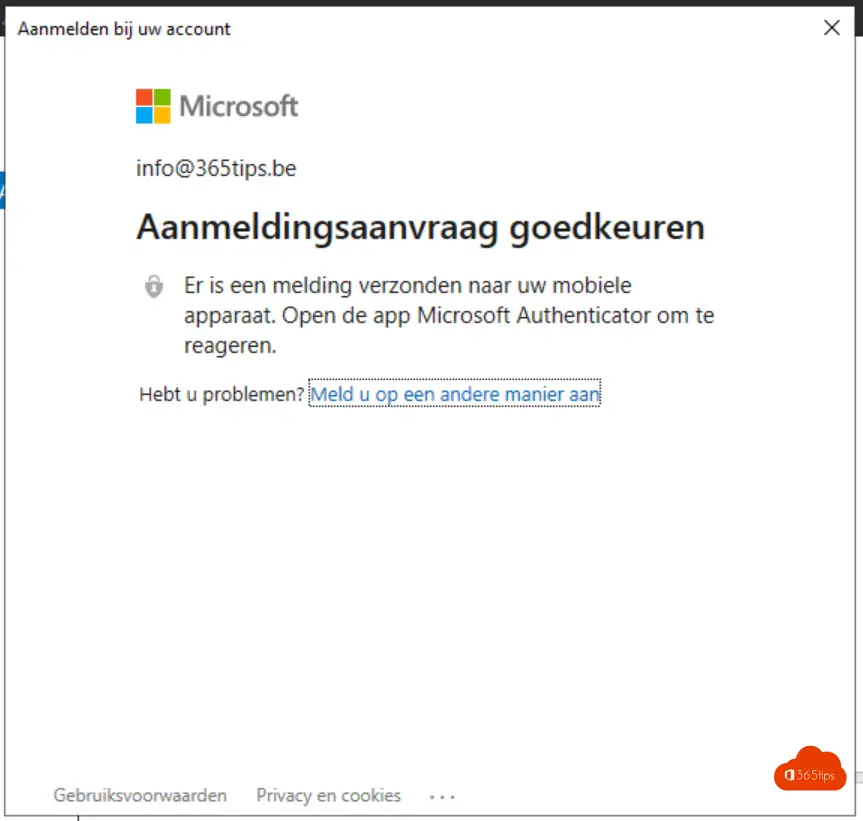
3. Connect to Azure Active Directory (AAD).
- Enter your Azure AD Global Administrator account
- Enter your password enter.

- Enter your password again (at MFA)
Are your domains not being seen by default? Add them using this blog.
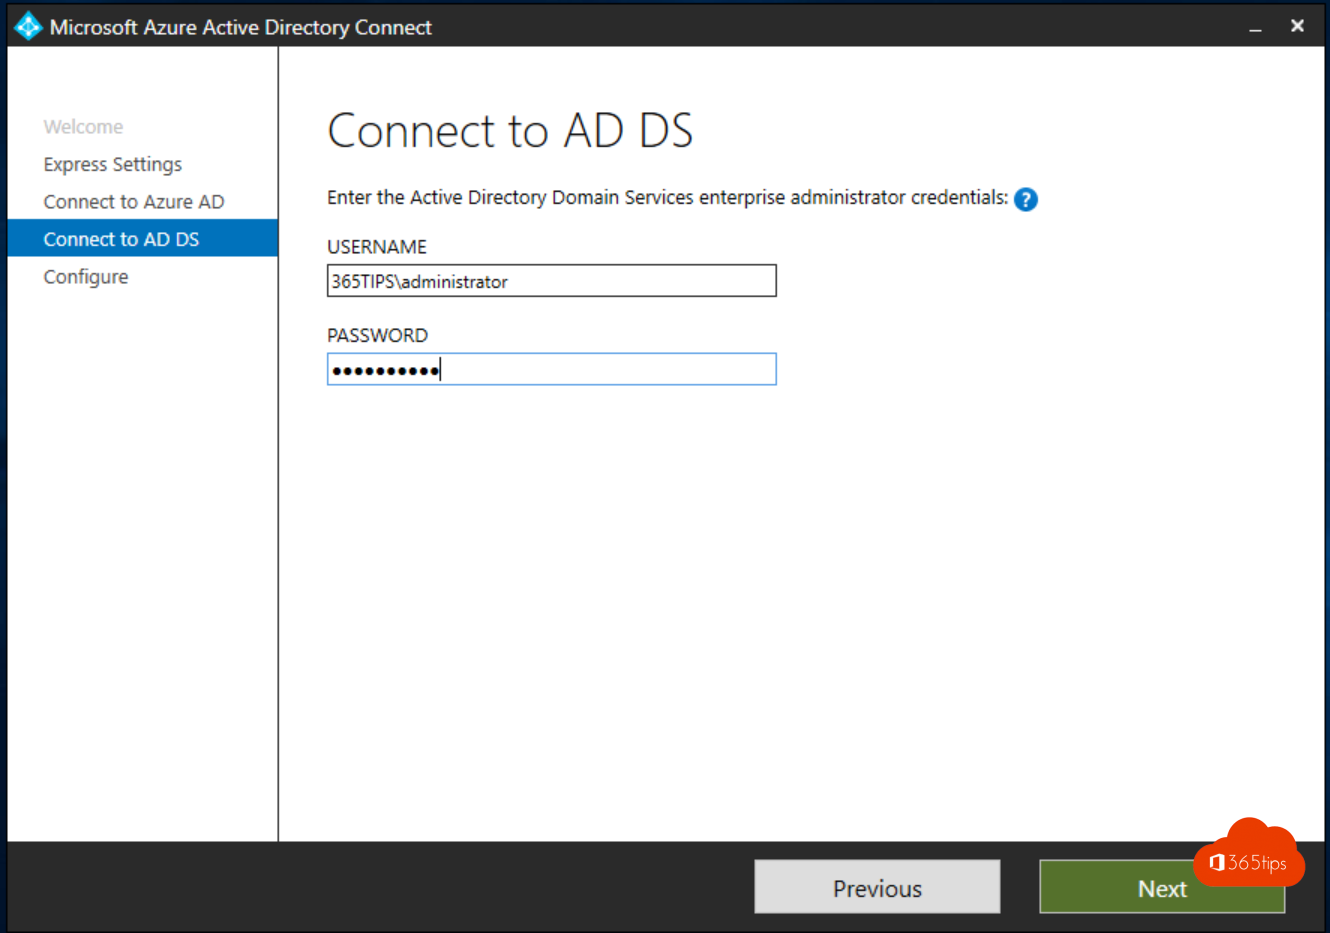
4. Connect to ADDS (Active Directory Domain Services).
- Enter your Active Directory Enterprise Administrator Credentials
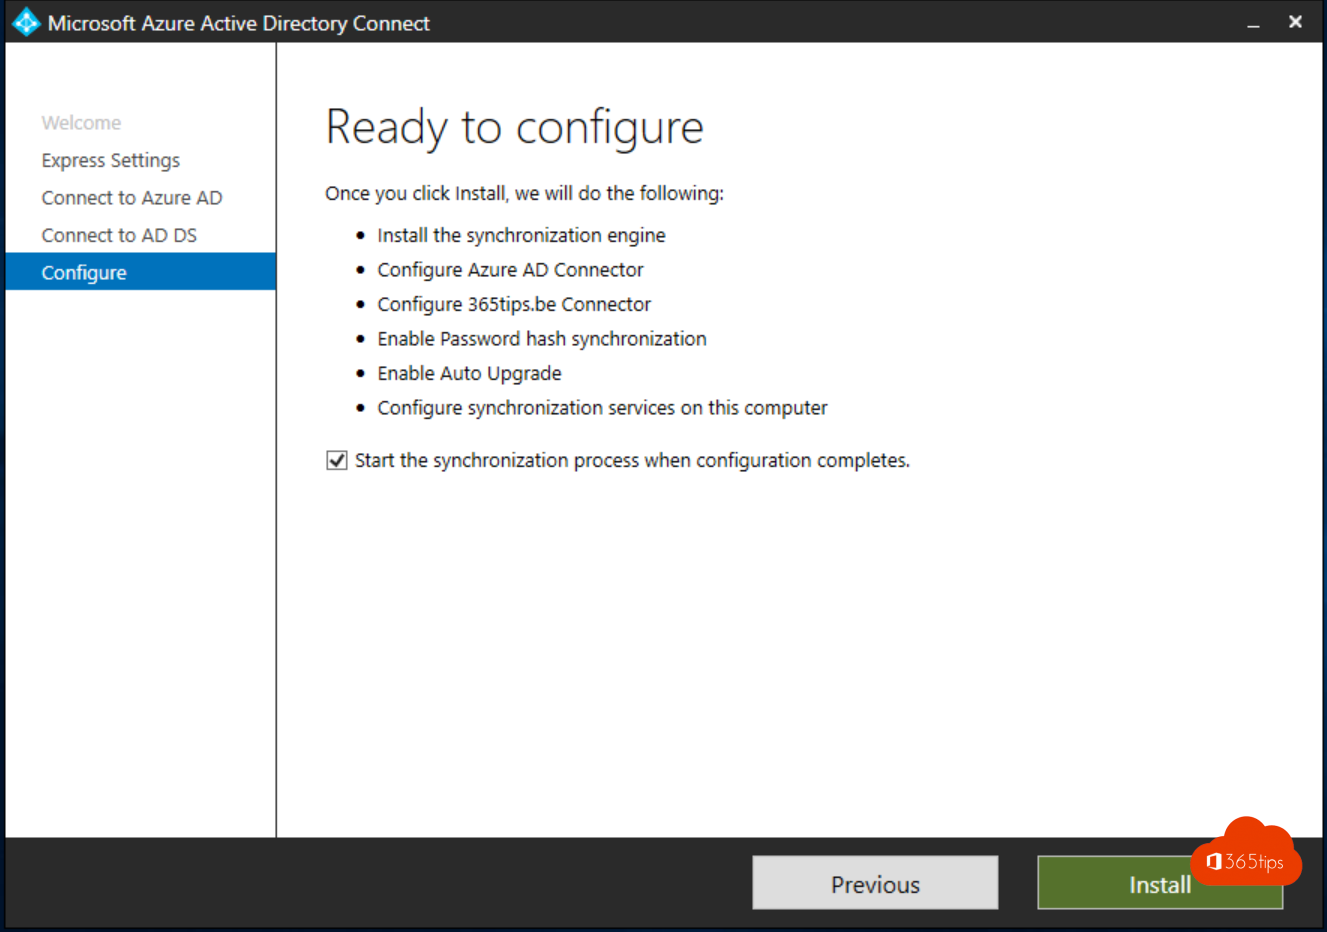
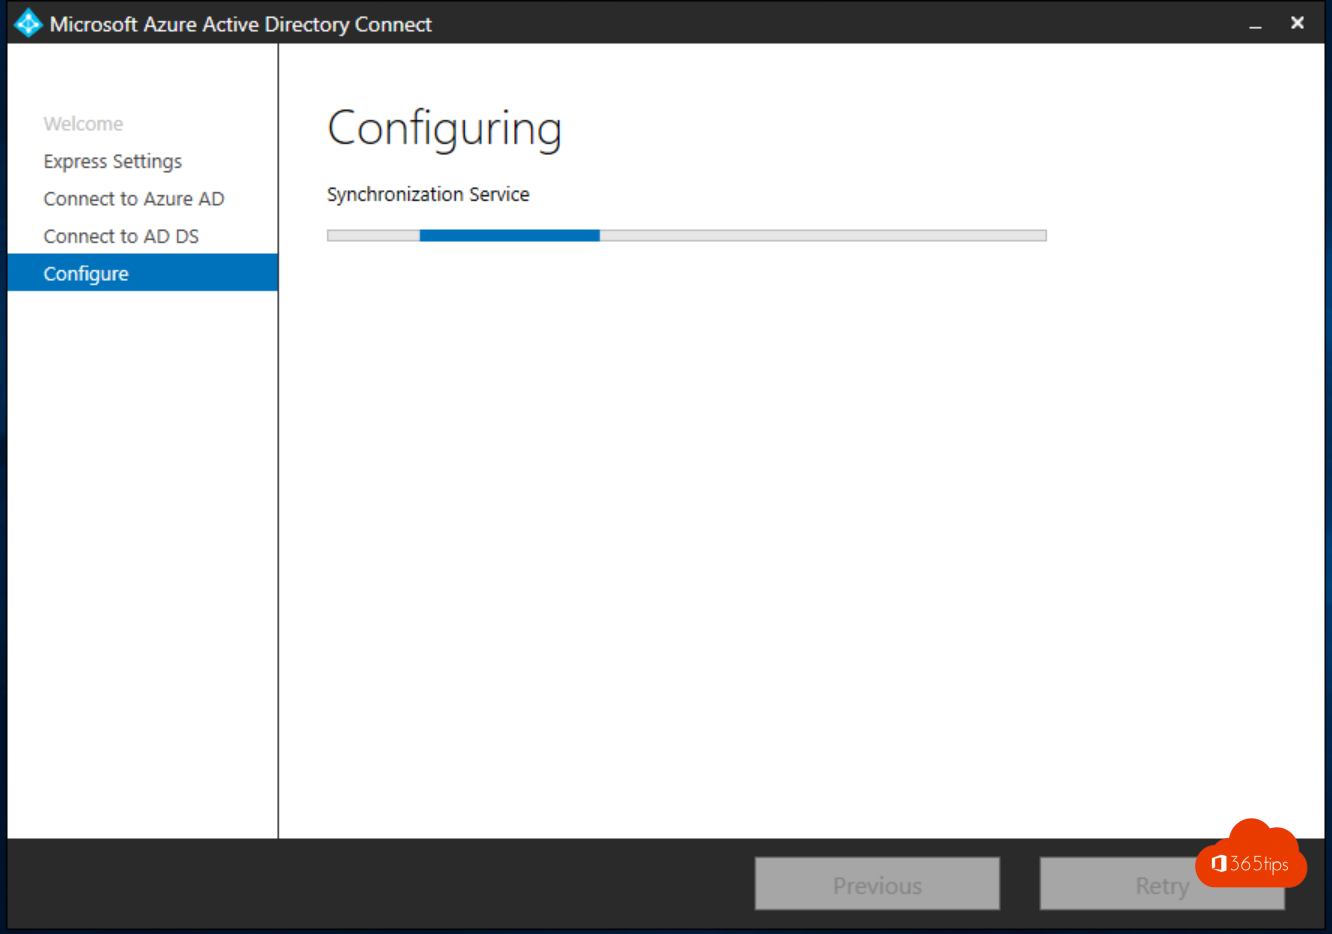
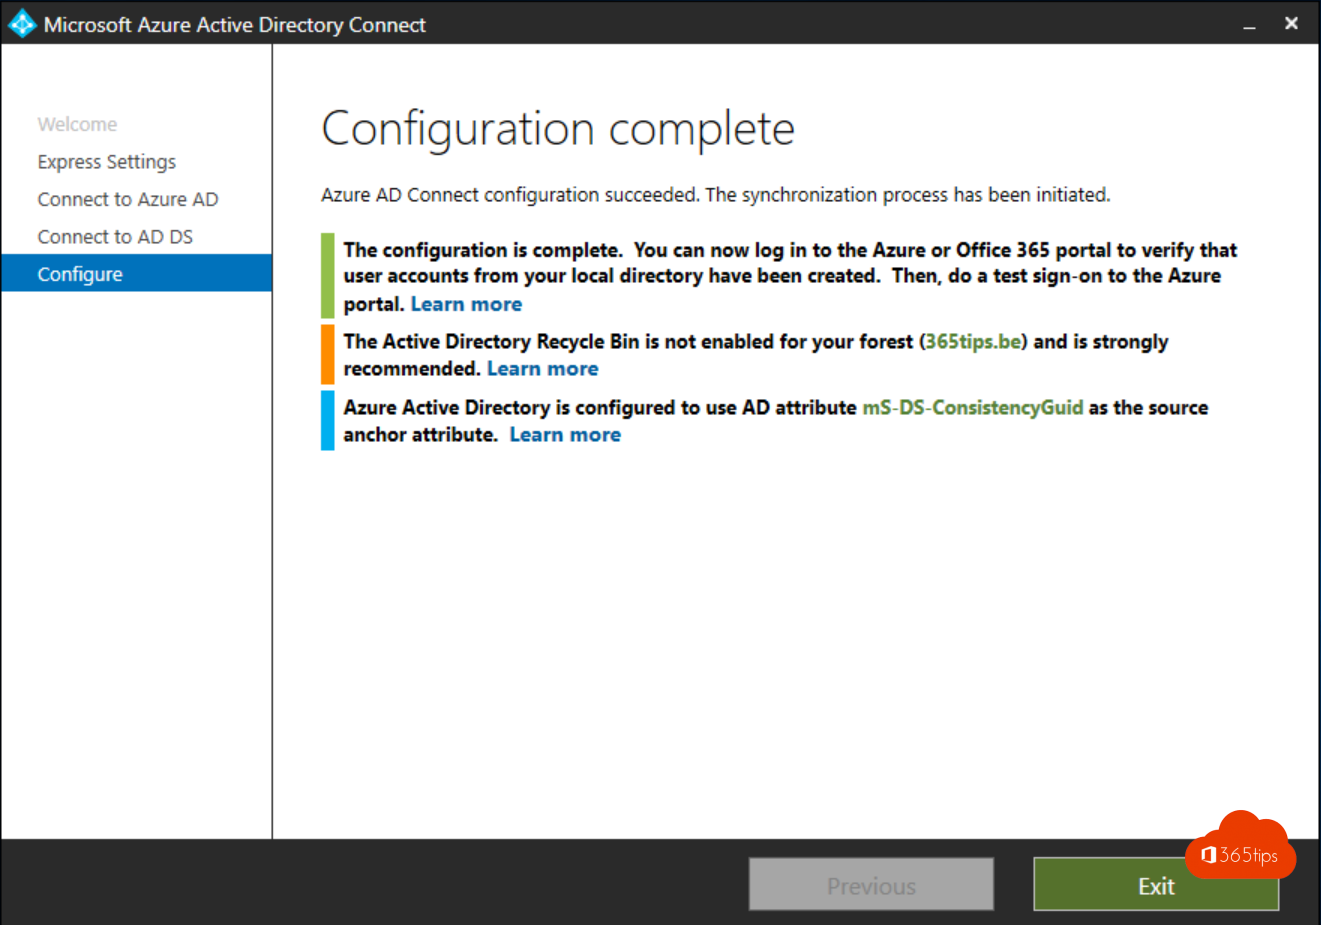
That's it!
- All users are now synchronized from your on-premises Active Directory to Office 365 / Azure AD.
- Important of course is to set the UPNs equal to the e-mail address so you have the same logins as today.
Also read
Remove Azure AD Connect and make all objects cloud managed
Invite people to use Teams for free
Micrososoft 365 deployment in multiple tenants from 1 AD environment
How to import users and guests in CSV in Office 365 or Azure AD?
